Our guest blogger Phil from York, UK sent me the first part of his bicentennial game of the Battle of Tolentino.
Without further ado, it's over to Phil to describe his wonderful looking game.
____________________________________
Tolentino is not a well known battle. It was fought over two days in May 1815 in Northern Italy between the Forces of Murat King of Naples and the Austrians under Bianchi. Murat’s defeat meant that the Austrians were free to march on France’s southern border, making a French victory in 100 days campaign unlikely in the long term and putting Napoleon under pressure to defeat Wellington and Blucher quickly.

This was one of the hardest battles to recreate as so little has been written about it and a lot of that is contradictory, especially the maps. I wanted a table that could be used to fight both days of the battle and in the end I had to resort to drawing my own map using Google earth with various landmarks identified from the written accounts (as it was I manged to put Casone on the wrong side initially). There was a certain amount of guesswork and compromise to provide dispositions and armies that would give a reasonable battle.


Murat, King of Naples
This was one of the hardest battles to recreate as so little has been written about it and a lot of that is contradictory, especially the maps. I wanted a table that could be used to fight both days of the battle and in the end I had to resort to drawing my own map using Google earth with various landmarks identified from the written accounts (as it was I manged to put Casone on the wrong side initially). There was a certain amount of guesswork and compromise to provide dispositions and armies that would give a reasonable battle.


Battlefield from the West.

The battle also required the painting of a Neapolitan army (though various units were appropriated from my existing Italian, Westphalian and French forces). These are Franznap Guard Velites bulked out with some grenadiers from the Zvezda staff set.
Turn 1

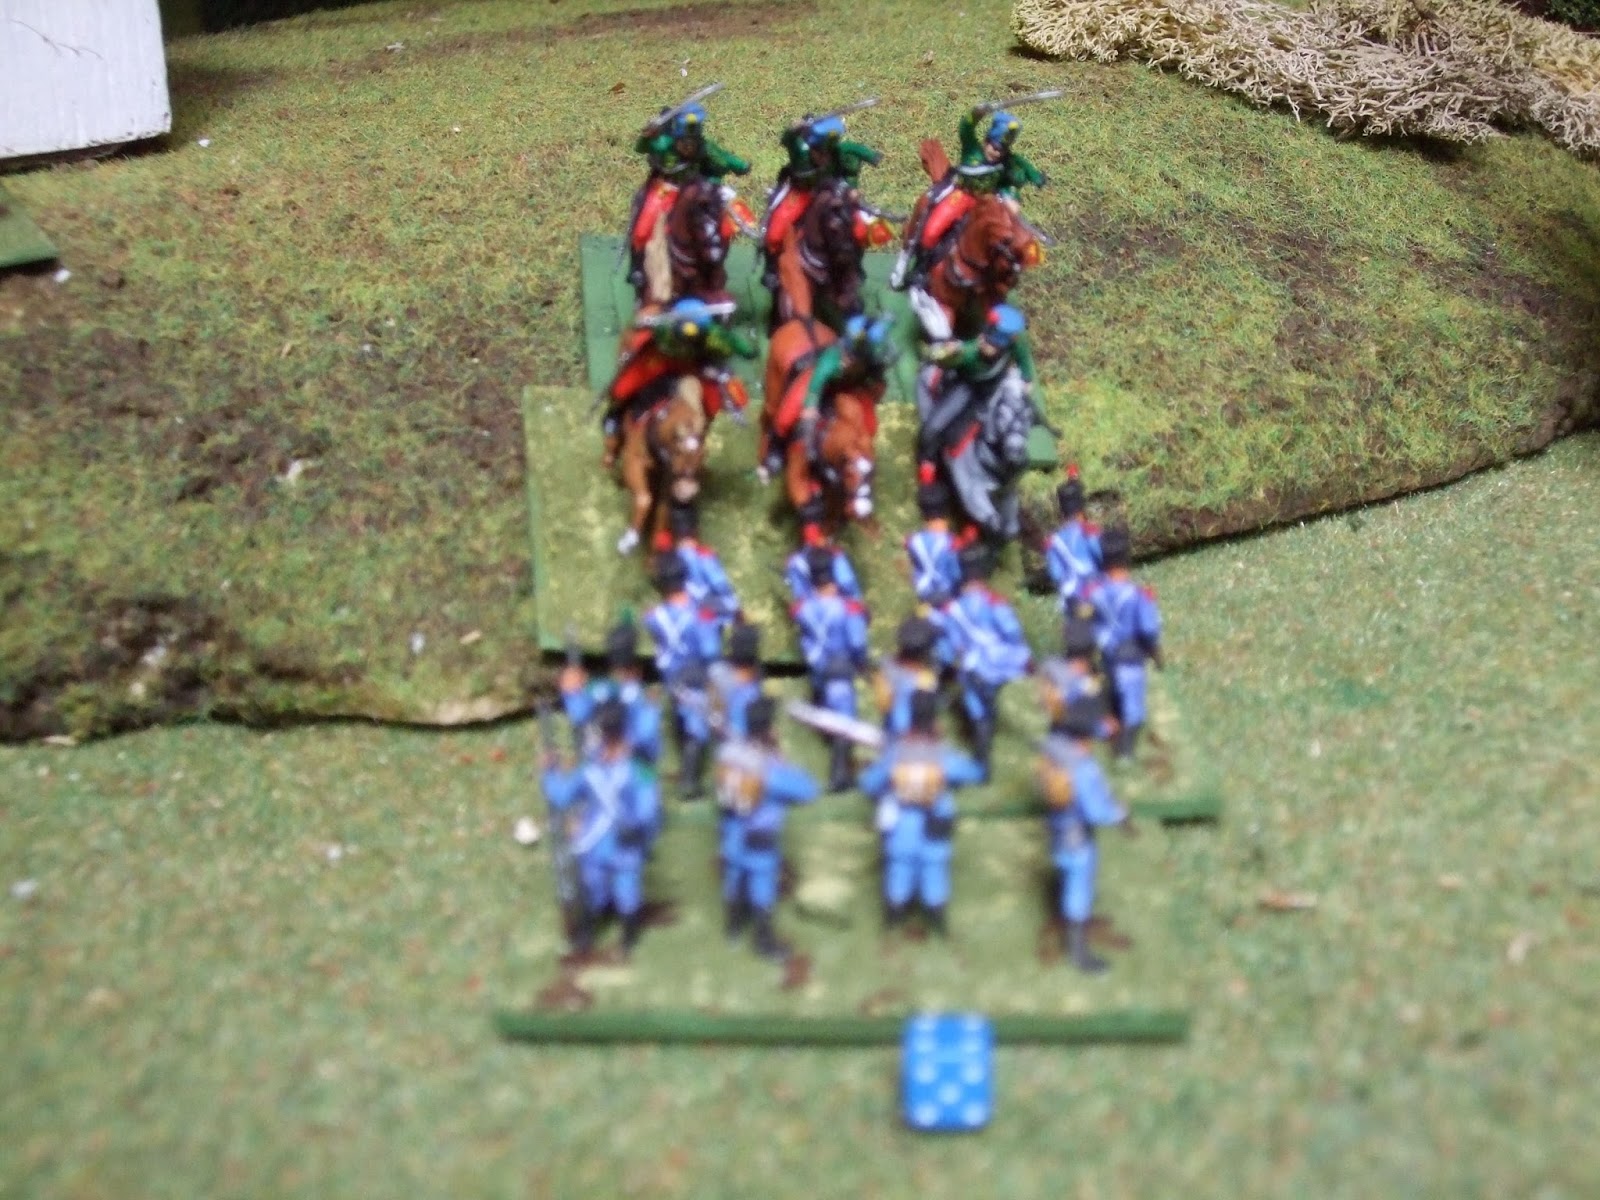
Murat sights the Austrians and commits his troops to battle, sending orders to his outlying units to join him tout de suite. Here the Neapolitan Guard and cavalry mass behind Cento Gallo on the south of the battlefield (Murat’s left).

His centre also advances (the dice mark hit points).


The Austrians send out some hussars but otherwise remain on the defensive.
Turn 2

The Guard advance.

The assault on the hilltop town of Monte Millione begins.


The attack in the centre builds.


In their bound the Austrian centre withdraws to allow their artillery to pound the Neapolitan columns.
The Austrian hussars catch the light infantry in column and isolated causing them to rout.
Turn 3

Monte Millione is assaulted in force,

... and falls.

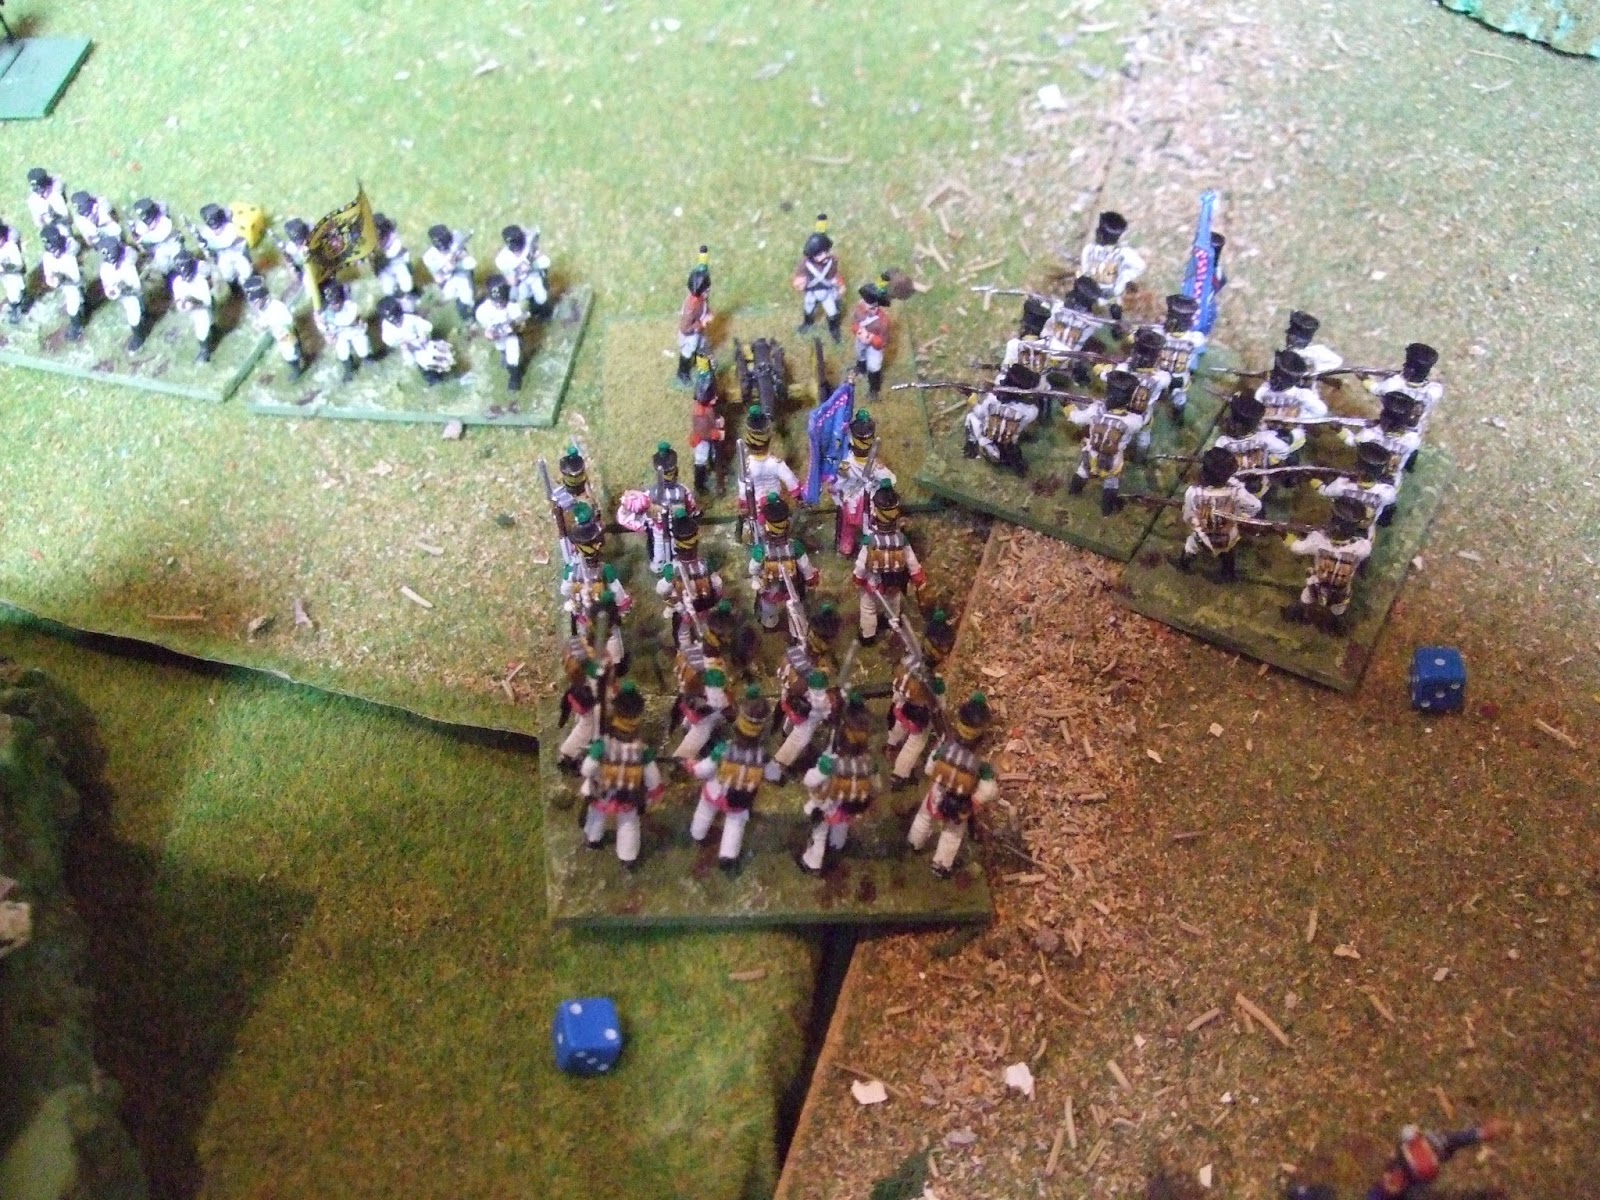
In the centre Lecchi’s division attacks but is thrown back.


And on the left the Austrian battery is stormed by The Guard Voltiguers and the Royal African regiment. The attack is successful but the Voltiguers take heavy casualties and are broken. (This attack unfortunately occurs right over a large gap between boards!).

Over on the right the light infantry are pursued by the Austrian hussars but manage to form square.
Turn 4

The victorious Neapolitans move off from Monte Millione in an effort to turn the Austrian right.

Heavy bombardment eventually takes its toll on the garrison of Trebbio (on the Austrian right) and they are destroyed.

The Guard Velites and Royal Africans advance to Casone and trade volleys with Baron Eckhart’s Brigade.

While the First Light throw themselves at the Austrian Line (right centre) but are repulsed with heavy losses.
In the Austrian bound the Royal African are destroyed by Austrian volleys and the 3rd Light are routed completely by the Hussars far over on the right – Not a good turn for the Neapolitans.
Turn 5

Situation on the eastern side of the board: The Austrian flank has been turned and Ambrosio brings up the centre to support this attack.

His forces now rather depleted; Murat orders forward the rest of his Guard. (He should be pointing the other way really !)

They are repulsed.

The Neapolitan cavalry finally make an appearance...

The Austrians maintain their positions, content to shell their opponents from a distance.
Turn 6

The cavalry retires!

But Ambrosio’s men slam into the Austrian left causing it to collapse.


Together with mounting casualties from the long distance bombardment by the Neapolitan artillery, Bianchi’s army is ‘exhausted’ and cannot continue. Victory to Murat... Stay tuned for day two!


